
Many years ago I spent a couple summers guiding in Alaska. I met some great guys and was invited out west steelhead fishing and after I was exposed to drift boats I was hooked. I love how durable and stable they were for navigating western waters. Here in MN we didn’t have many rivers suitable for driftboats but I was still enthralled with them.

While attending college for manufacturing we had to do a hypothetical project to help develop timelines and plans of procedure. I ordered this McDrift 14′ boat plan and used it for my research project. I spent five years in manufacturing w=and went back to school for teaching. Ten years later I was teaching in Henning and still thinking about the driftboat plans. Brunswick manufacturing is a local company that makes Lund Boats in New York Mills. They had donated scrap materials to the school in the past so I reached out to Brunswick to see if they might have any aluminum sheets they’d donate, sure enough they gave us several large sheets of the same aluminum they use for fishing boats.

My fishing partner and good friend Chuck worked at Lund for many years and was invaluable for information on cutting, shaping, fastening and building boats.


Next we proceeded to make full length welds using the spool gun in an attempt to make the boat watertight. There were many holes burned in the boat along the way that needed to be be filled.


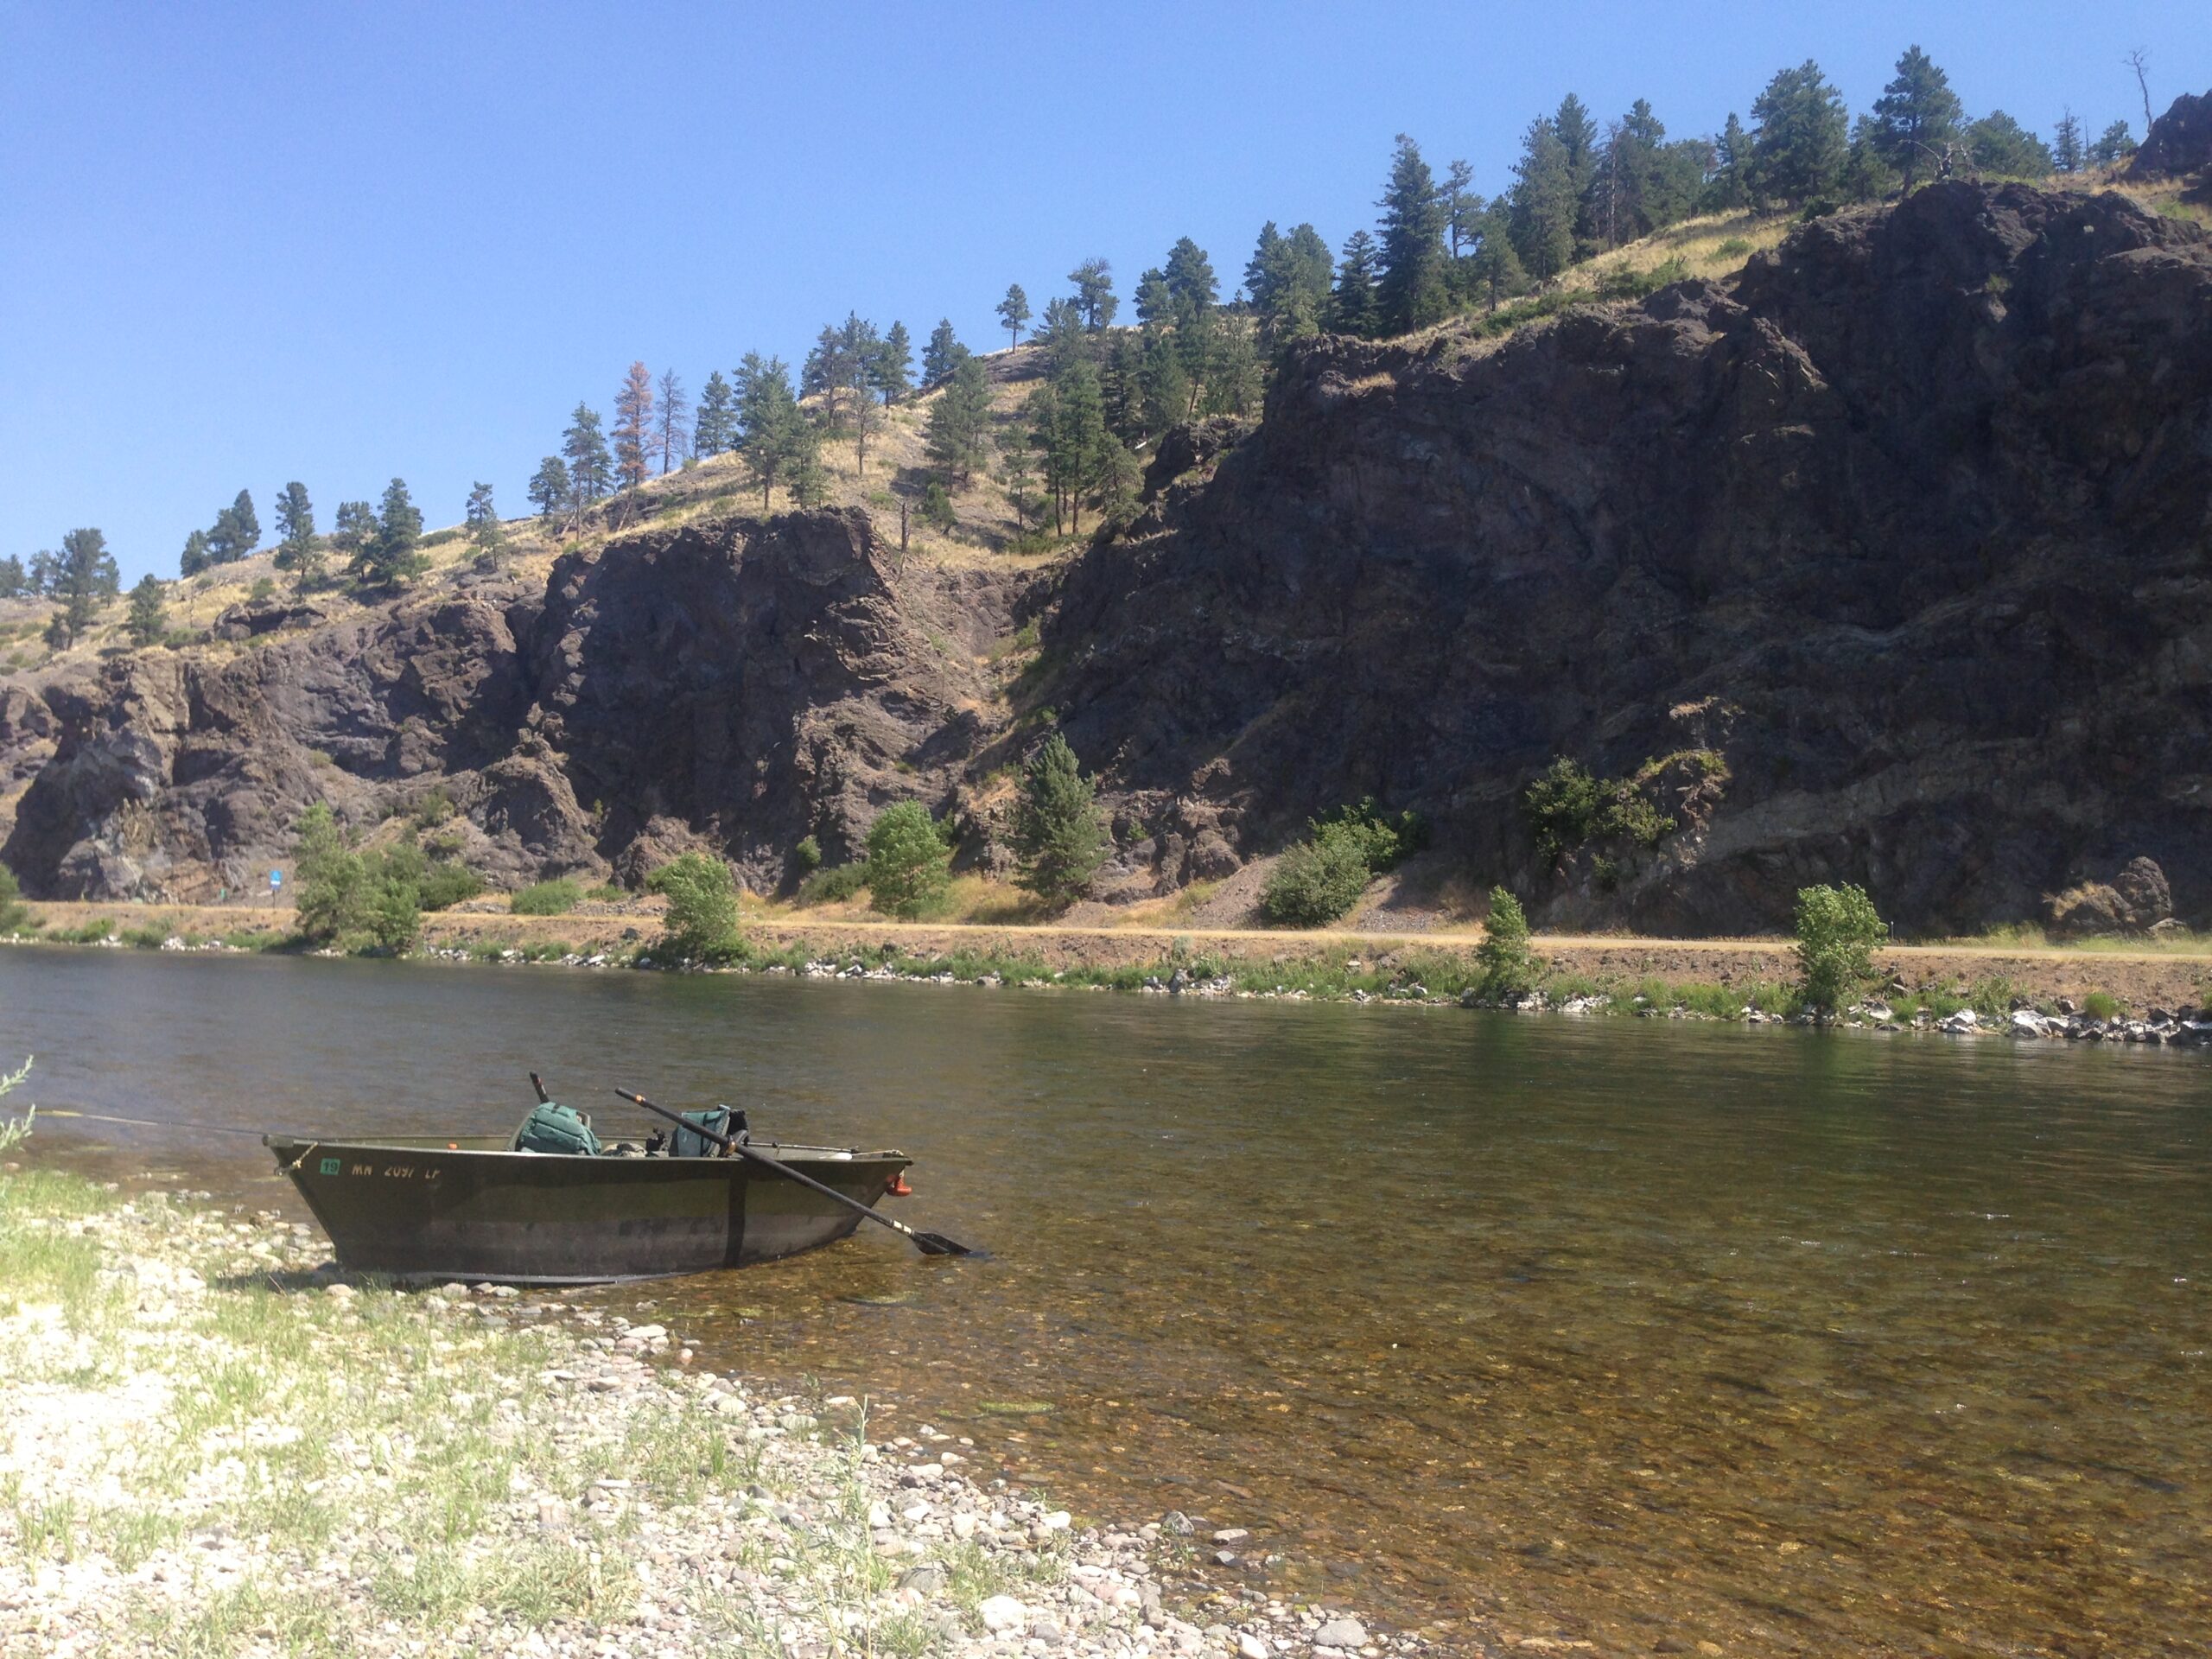
I put a product called Wetlander on the bottom to help the boat slide over rocks. It’s been on the Crow Wing and Mississippi Rivers in MN as well as the Big Hole, Missouri and Yellowstone River in Montana.
I really enjoy rowing and am planning on bringing the boat back to Montana this summer to hit up some new river stretches. Although building my first boat was stressful, it was also really rewarding and both my students and I learned alot along the way.


